MailCatcher runs a super simple SMTP server which catches any message sent to it to display in a web interface.
MailCatcher is excellent for testing your web apps email functionality. It reduces the hassle of uploading your app to a live server to check its email functionality. Let’s get started.
MailCatcher Installation
In your Linux terminal type the following commands:
Install dependencies
sudo apt-get install libsqlite3-dev ruby-dev -y
Install MailCatcher
sudo gem install mailcatcher
Verify Installation
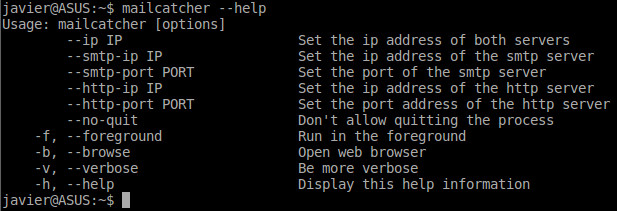
mailcatcher --help
You should see the next screen.

Configure MailCatcher
Let’s configure MailCatcher, so it automatically runs when our machine boots up. In your Linux terminal type the following commands:
sudoedit /lib/systemd/system/mailcatcher.service
Copy the contents into the editor:
[Unit]
Description=MailCatcher Service

[Service]
Type=simple
ExecStart=/usr/local/bin/mailcatcher --foreground --ip 0.0.0.0

[Install]
WantedBy=multi-user.target
Save and exit.
sudo systemctl enable mailcatcher.service
Verify MailCatcher is Listening.
sudo service mailcatcher status
Tell PHP to Use MailCatcher
Create a configuration file:
sudoedit /etc/php/7.1/mods-available/mailcatcher.ini
Replace “7.1” above with your version of PHP. catchmail – routes mail locally to MailCatcher.
sendmail_path = /usr/local/bin/catchmail
sendmail_from = mailcatcher@sandbox.dev
Save and exit.
Enable PHP Configuration
sudo phpenmod mailcatcher
sudo service apache2 restart
Verify the new configuration with the command below.
php -i | grep sendmail

Your custom values should appear.
Test MailCatcher
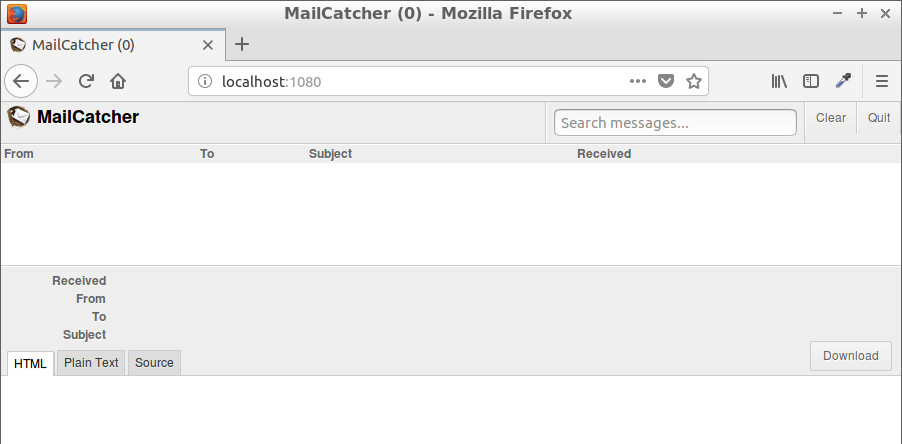
Type into your browser
localhost:1080
You should see MailCatcher’s browser interface.

Enter into an interactive PHP session via the terminal.
php -a
mail('receiver@google.com', 'Subject Line Email', 'Body of Email',  'From:sender@example.com');
When done sending emails. Type exit to end the PHP session.